All Mydoma plans include basic access to the Mydoma Visualizer. However, each studio is limited to one seat. For advanced features, the Visualizer Pro Add-On is available for purchase post-joining.Includes Stripe, Quickbooks, Facebook, Calendly, Acuity Scheduling, and thousands of integrations through Zapier.Skip to content
5 Expert Tips on How to Professionally Photograph any Kitchen
August 26, 2022
A guest post by Liz Walton
After months of planning, preparation, and construction, you are finally ready to photograph your work. If you’re like me, the photoshoot of any space marks a finite end to that specific project. There are no more loose ends, the punch list items have been taken care of, and you and your client can sit back and revel in the journey. While studying interior design at Drexel University, I spent hours pouring over the glossy images of Architectural Digest, Veranda, and Traditional Home to name a few and I wondered how on earth designers made those rooms look polished, yet inviting. Fast forward almost 20 years and I now have a personal understanding of what goes on behind the scenes of these photo shoots – and I want to share my secrets with you.
Photographing a kitchen can be tricky. Discuss a shot list with your photographer prior to shoot day. Have a plan for unusual spaces like narrow corridors and covering unsightly outlets which can often obstruct a good shot. Finding the right angles and styling your space takes practice, patience, and perseverance. I have made many mistakes, left open shelves bare, forgot to photograph a special detail, and have completely missed photographing a wall of cabinetry which I later and to this day regret. After designing and styling kitchens for over 17 years I have learned a thing or two and am sharing my best tips on photographing any kitchen in an effort to save you time, energy, and tears.
The 5 Expert Tips for Professionally Photographing your Kitchen
Prior to the day of the photoshoot, scout the space. This may seem odd because you designed this kitchen and know the space intimately. However, a scouting trip helps determine what props we may need, and what our clients may already have that could be used during the photoshoot. From there we create a shopping list and get to work purchasing items, so we are prepared the day of the shoot.
Clean up! We request our client remove everything from the counters and put it away, completely out of sight. This saves us time upon arrival and gives us a blank canvas to work from. The camera tends to peek into adjoining rooms so be mindful of what’s happening in surrounding rooms such as the dining room and/or living room. Be prepared to stage a few items in those spaces for an overall cohesive aesthetic.
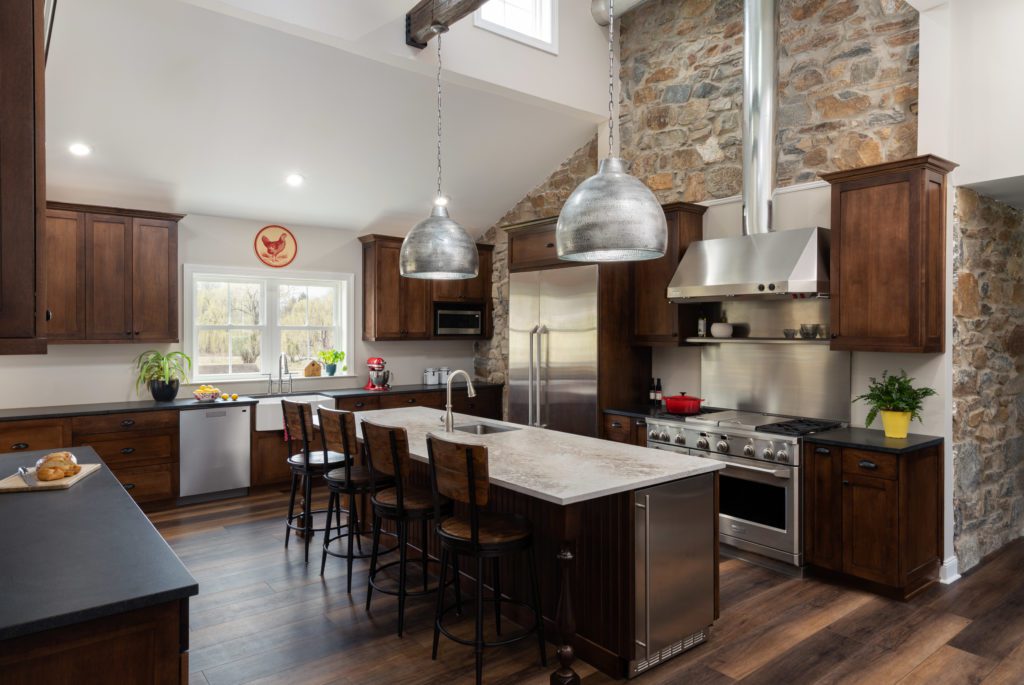
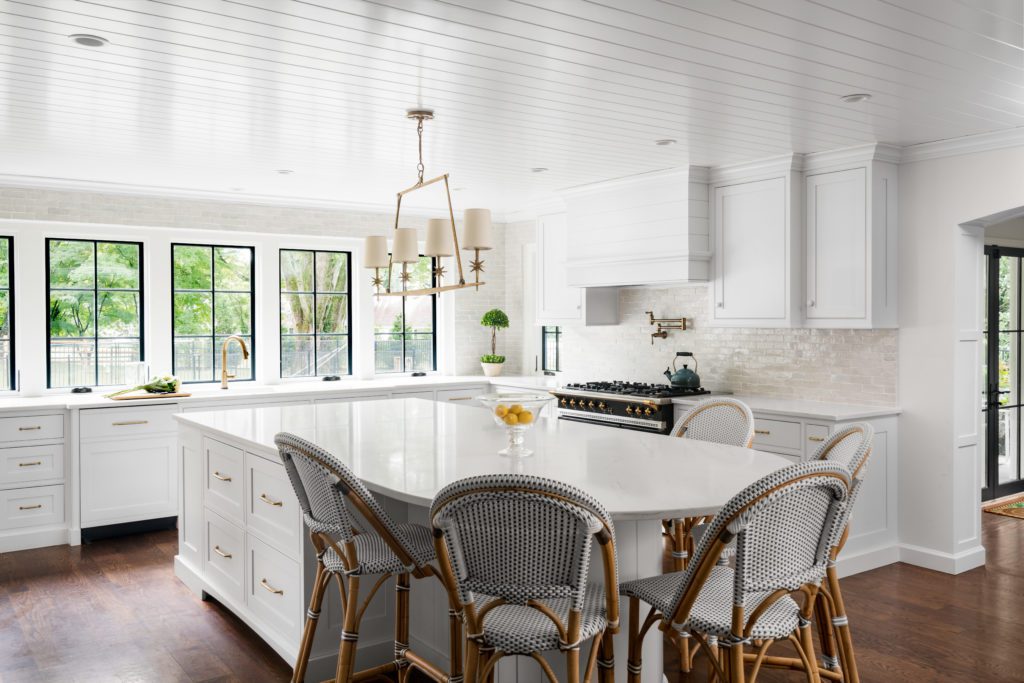
When styling, less is more. Fresh flowers and produce add color and can especially add life to an all white kitchen. Hydrangeas are great for volume, texture, and come in a variety of colors. Large forsythia plants work well due to their scale by adding volume, texture, and a wonderful sunny yellow hue. We also love using lemons, limes, and even brussel sprouts. Food prep adds interest and helps make the kitchen feel less sterile. Staging a pitcher of water and a cutting board with lemons, or dry pasta with herbs and a pot of water engage the audience’s senses so they can feel like they are part of the story you are trying to tell. We always bring bottles of San Pellegrino water, a few bottles of wine, and we love to stage cheese and crackers on a cutting board. After the shoot is over, we leave the flowers, food, water, and wine as a nice parting gift for our clients.
Be intentional about where you place your camera. Interior and architectural photographer Jon Friedrich notes, “Getting as far away from the subject you’re shooting and zooming in can really help your shots look more professional. Think about it like taking a selfie, would you want the camera pressed up super close to your nose? Step back for a better perspective and scale!” Also, be sure to get close-ups of any cool features, such as refrigerator drawers (one shot of them closed, and then another with them open. These are great for Instagram!). If you installed a cool utensil divider or hidden breakfast bar with sleek bi-fold doors take multiple photos. When you photograph your tricks of the trade, clients will fall in love with your brilliant ideas and want to hire you on the spot!
Use as much natural light as possible. Kitchens have a lot of reflective surfaces and turning all the lights on may work against you. The time of year, time of day, and the weather are all important factors. Play around with turning lights on and off to achieve the best look. And while you are playing with lighting, have your photographer snap a few behind the scenes shots of you. These photos will prove to be invaluable for your social media feeds, website, and marketing campaigns.
Photographing your fabulous kitchen design is the icing on the cake. Designing kitchens is tough stuff and can be highly stressful. The photoshoot should be fun so treat it as such. Play music, bring yummy snacks, and enjoy the ride. These photos will help market your expertise as an industry leader, and will help position you for editorial opportunities, and win contests and awards. I’m sure these helpful tips will ensure effortless looking photos that will energize your website and social media platforms, leading to your next big kitchen renovation project.
Discover how you can use Mydoma to save time & impress more clients
Liz Walton is the founder and proud owner of Liz Walton Home. As a certified kitchen designer, Liz and her team work seamlessly with clients and custom home builders to deliver one-of-a kind kitchens, tailored to suit their needs. Liz’s pragmatic and function based approach paired with humor and humility put clients minds at ease and ensure an exceptional experience.